...
- You can create directories/folders inside your "home" directory, and upload your files using the "Upload" option in the menu bar.
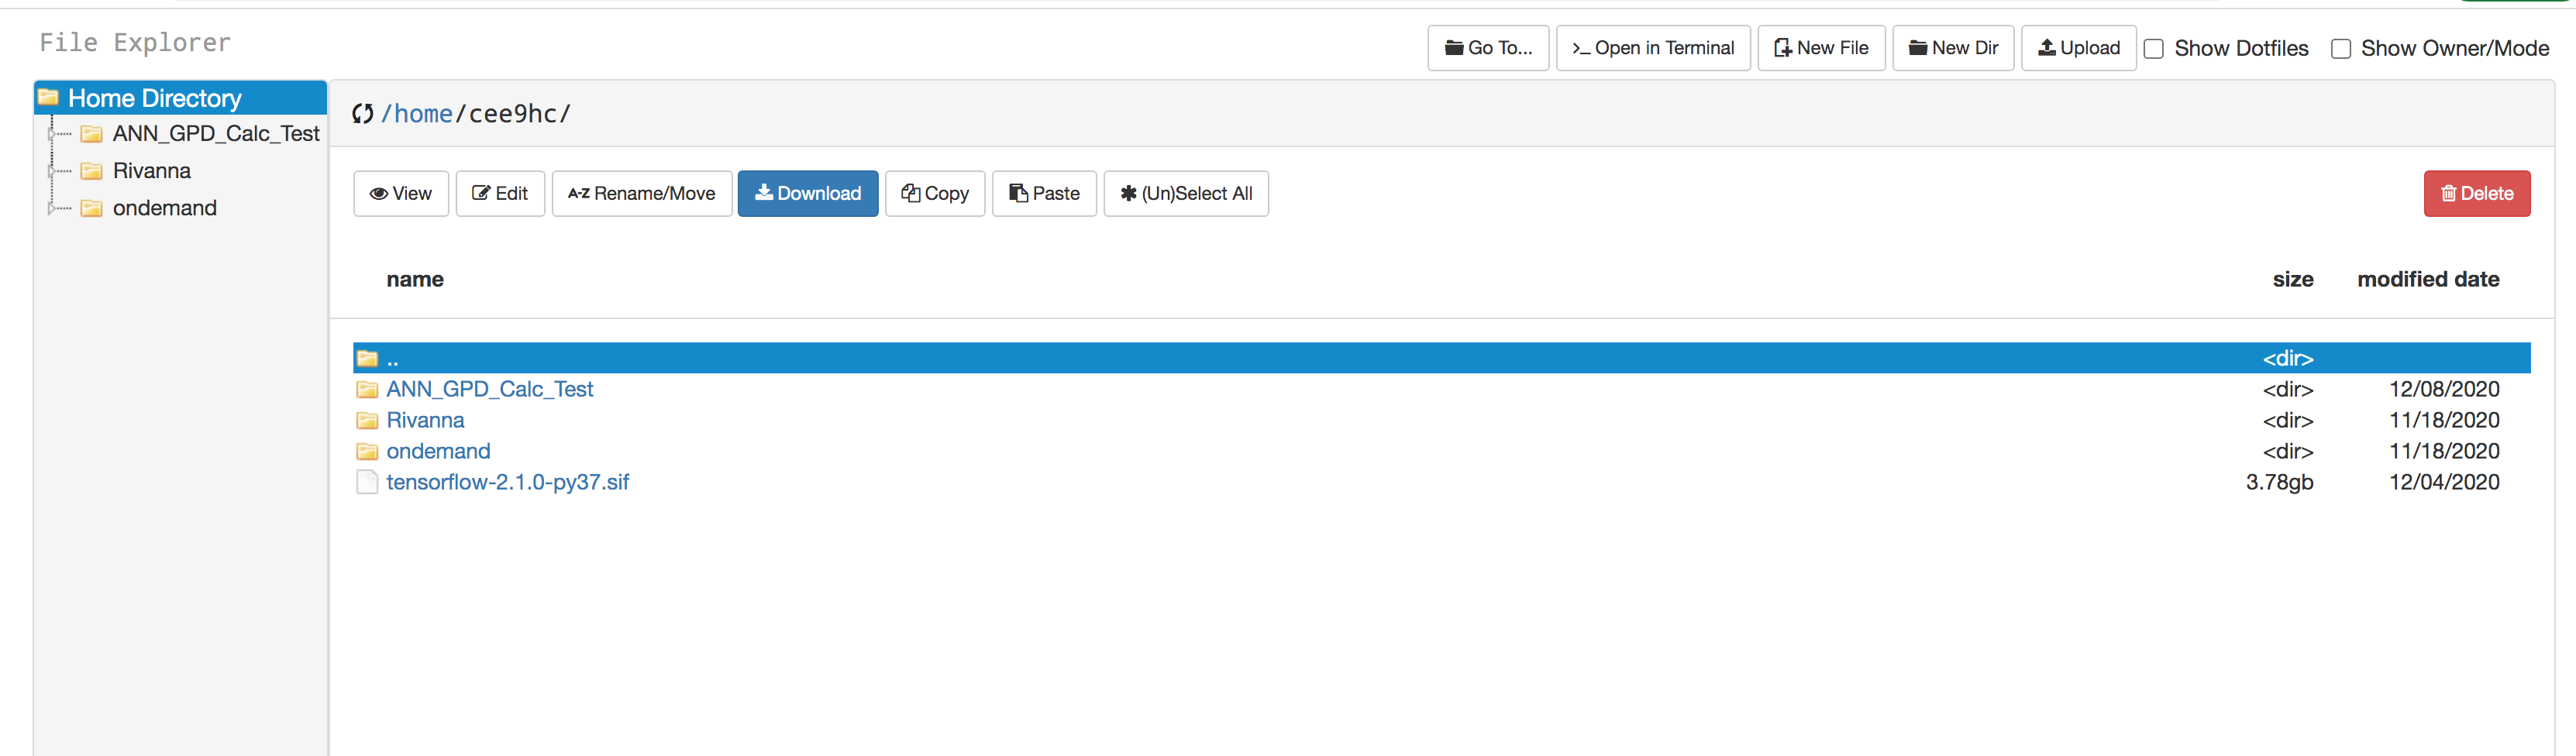
- Initially (most probably) you will not see the file "tensorflow-2.1.0-py37.sif" file in your home directory. If so, "click" on the ">_Open in Terminal" on the menu bar; a new tab on your web browser will show up with a terminal environment.
Issue this command: commands:
module load singularity/3.5.2
module load tensorflow/2.1.0-py37
- cp $CONTAINERDIR/tensorflow-2.1.0-py37.sif /home/$USER and then you will see that file is there in your home directory.
- Make sure you have the ####.slurm file in your working directory (corresponding to the job that you are going to do), and check that the following lines are there (please note that the file name and location are just an example).
#!/usr/bin/env bash
#SBATCH -p standard
#SBATCH --output=result_%a.out
#SBATCH -c 1
#SBATCH -t 16:30:00
#SBATCH -A spinquestmodule purge
module load anaconda/2019.10-py3.7
module load singularity/3.5.2
module load tensorflow/2.1.0-py37singularity run --nv /home/$USER/tensorflow-2.1.0-py37.sif /home/cee9hc/ANN_GPD_Calc_Test/Full_ML_fit_evaluation.py ${SLURM_ARRAY_TASK_ID}
- You will need to make sure the locations/paths mentioned in your program files contain your change computing ID. Also, within the python file, you may modify parameters such as the learning rate and numSamples with specific values.
- Issue the command: sbatch --array=0-14 Job1.slurm (please note that this "Job1" is an example, you can have your own filename)
...