...
| Table of Contents | ||||
|---|---|---|---|---|
|
1. Find and copy your video’s iFrame code
- Log in to https://audio-video.shanti.virginia.edu/
- Learn how at Log in to Audio-Video
- Open the Main Menu again
- Click My Content, then My Collections Collections
You'll see a list of all the collections that belong to you
- Choose the collection which contains the video you want to embed
- The collection will open
- Open the video you want to embed
The video and its metadata will open
:
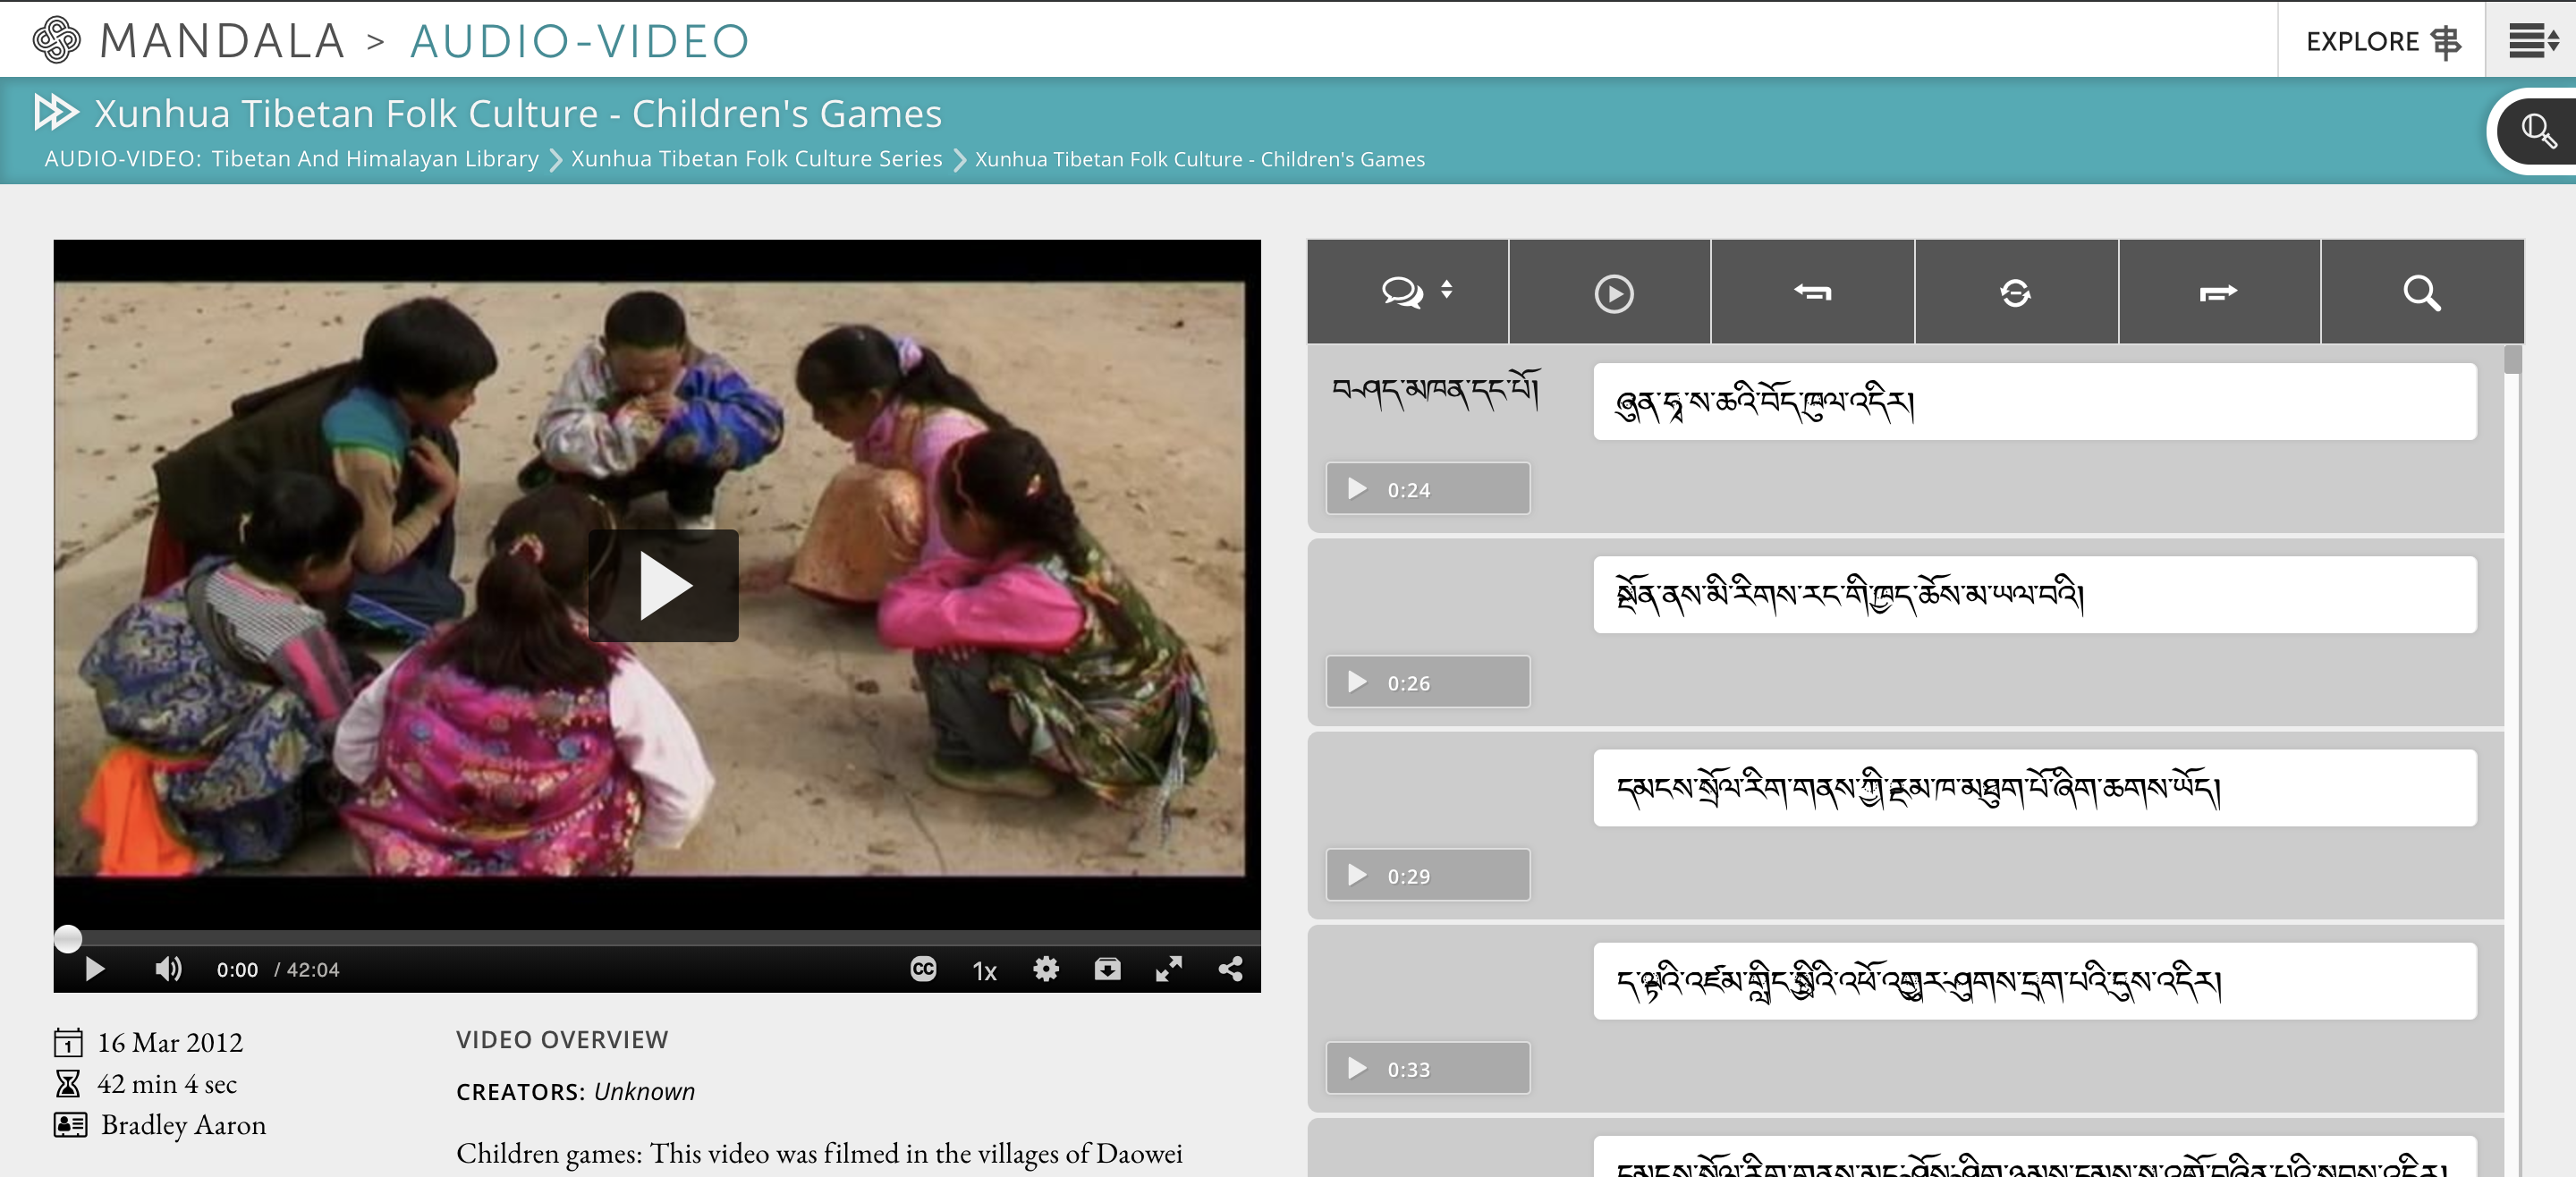
- Click on the the Share icon in the bottom right corner of the video display.Clicking Share will open a screen in the video display that looks like this:
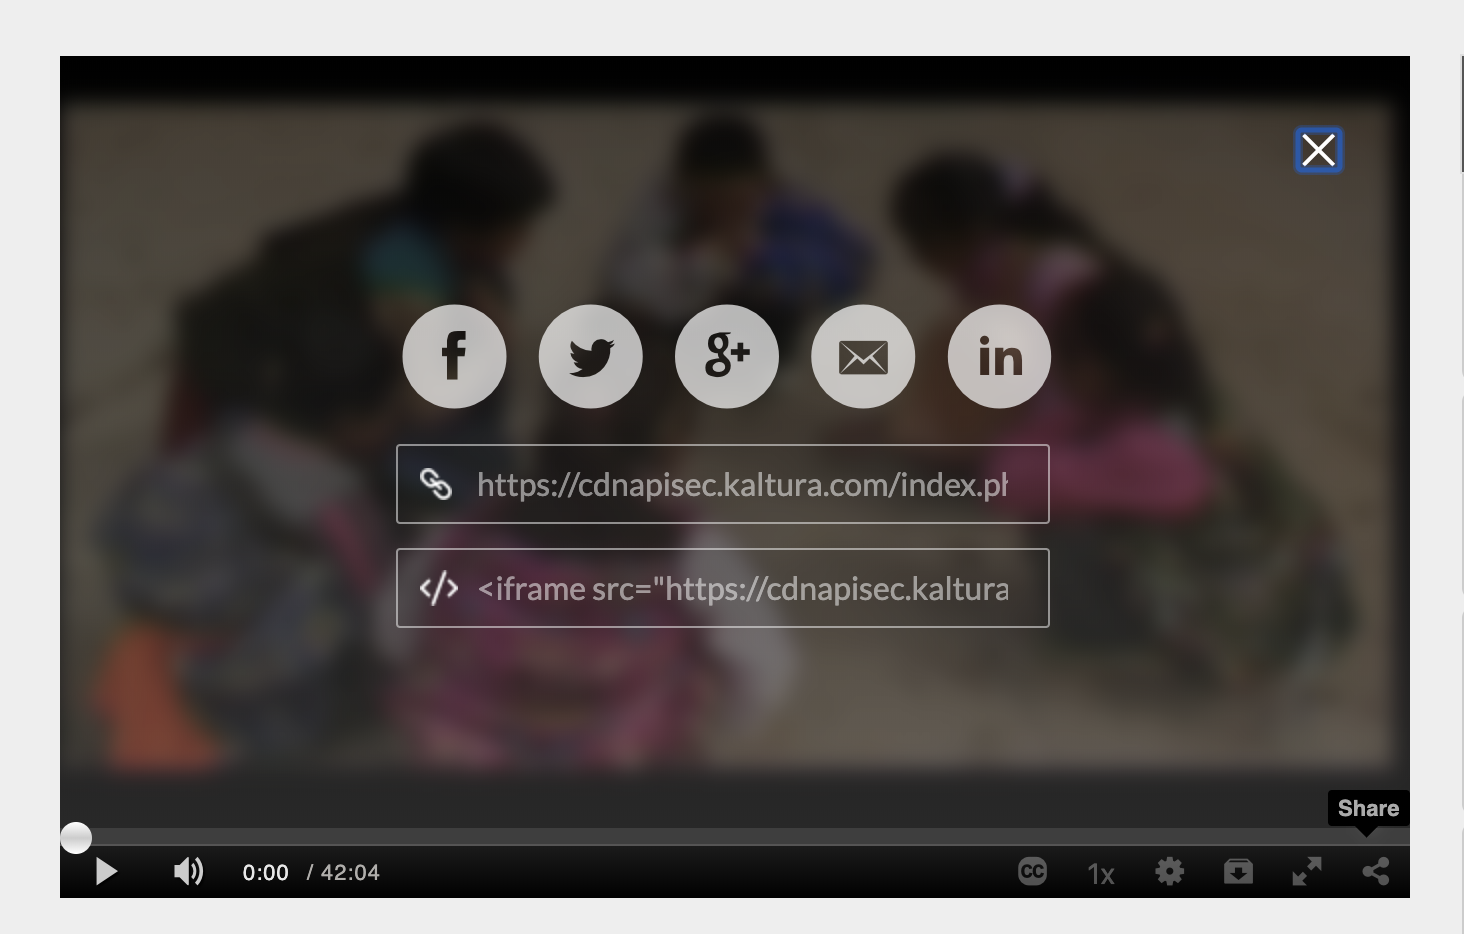
- This icon looks like a network
An overlay with sharing options will open over the video:
- Copy the code in the bottom box. (It is , labeled </>).
Keep this somewhere safe; you'll need it later
2. Create an HTML page in UVACollab
- Open the course where you want to embed the video at Log in to Collab https://collab.its.virginia.edu
- Get help using this external UVACollab guide
- Select Resources from the Tools Menu on the left side of the page
You should see a list of your
resource folders
- Next to the course you are working withfolder for your course, click Actions
- Select Create HTML Page
- Follow the prompts to name and create your new page
To paste
3. Paste the iFrame you copied from Mandala onto
...
the HTML page
- Select the Source button at the top left corner of the editor
- Paste your iFrame code
- Click Continue
| Info |
|---|
...
After entering text or other content into the editor in UVACollab, we recommend using the Accessibility Checker to confirm that the content is fully accessible to all site participants. See How do I check my content for accessibility? for more information on the Accessibility Checker and instructions for checking content. |
...
4. Save your new page and notify your students that it exists
...
- Enter a File Name for the HTML page in the box provided.
- You can add other details
- as you need them, including descriptions, access information, and more. For help with optional file details, see these guides from UVaCollab:
- Notify site participants of the new HTML page
- You can choose to If you want, you can send an automatic email notification to site participants with a link to the file you have created.page
- By default, No notification is sent
- Select High - All participants to send an email to everyone in your UVACollab site who can access the file
- Select Low - Not received by those who have opted out to send an email only to those who have chosen to receive Resources notifications in their preferences
- If the file is created in a folder that is only available to a specific group, only members of that group will receive the email notification.
- Click Finish
Your new page will appear
If you need to update this page or add more content, return to your course Resources page
...
. Next to the page you created
...
, click Actions > Edit Content.